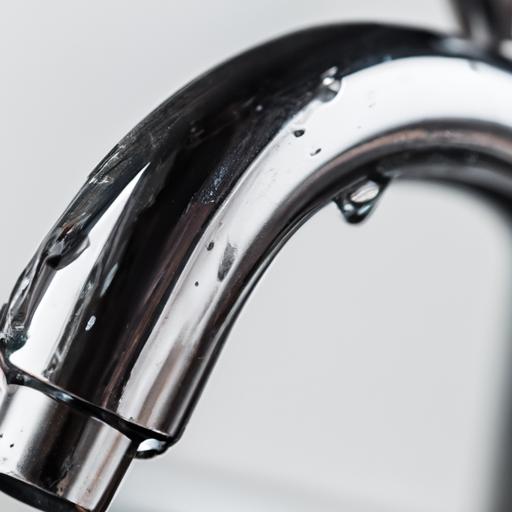
Are you tired of that incessant drip-drip sound coming from your kitchen sink faucet? A leaky faucet not only wastes water and increases your utility bills but can also be a constant source of annoyance. Fortunately, fixing a leaky kitchen sink faucet is a task you can easily tackle yourself, saving you time and money. In this comprehensive guide, we will walk you through the process step-by-step, so you can bid farewell to that pesky leak and restore peace to your kitchen.
Understanding the Problem
Before diving into the repair process, it is important to understand why your kitchen sink faucet is leaking. The most common causes include worn-out internal components, loose connections, or mineral build-up. By identifying the specific issue, you can better determine the appropriate solution and ensure a successful repair.
Tools and Materials Needed
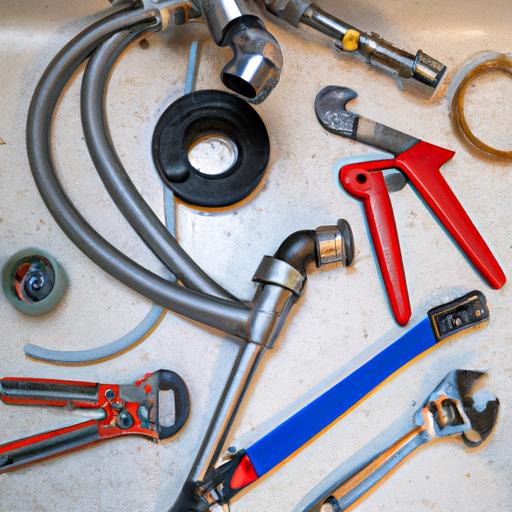
To fix a leaky kitchen sink faucet, you will need a few tools and materials. Gather the following items before starting the repair process to ensure a smooth experience:
- Adjustable wrench
- Screwdriver (both Phillips and flathead)
- Replacement parts (such as O-rings, washers, and cartridges) specific to your faucet model
- Plumber’s tape
- Clean cloth or towel
Having these tools and materials ready will save you from frustrating interruptions during the repair.
Step-by-Step Guide to Fixing a Leaky Kitchen Sink Faucet
Now that you have everything you need, let’s dive into the step-by-step process of fixing your leaky kitchen sink faucet:
Step 1: Shutting off the Water Supply
Before disassembling your faucet, it is crucial to turn off the water supply. Look for the shut-off valves beneath the sink and twist them clockwise until they are fully closed. This will prevent any water from flowing while you work on the faucet.
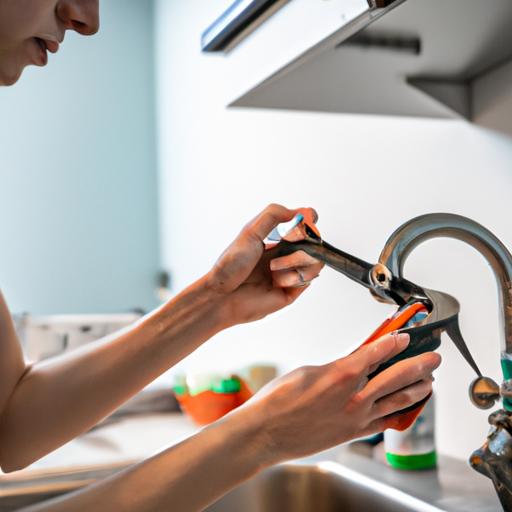
Step 2: Disassembling the Faucet
Start by removing the decorative cap on top of the faucet handle, if present. Use a flathead screwdriver to gently pry it off. Next, use a screwdriver to remove the screw underneath the cap. With the screw removed, carefully lift off the handle to expose the faucet cartridge or valve.
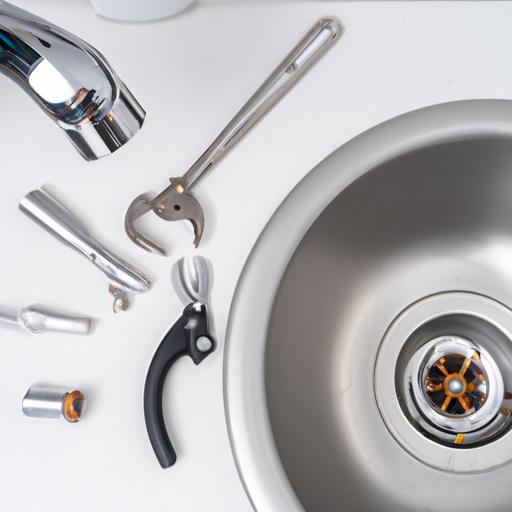
Step 3: Replacing Faulty Parts
Inspect the cartridge or valve for any signs of damage, such as cracks or wear. If necessary, replace it with a new one specific to your faucet model. Additionally, check the O-rings and washers for wear or mineral buildup. These can be replaced using the appropriate replacement parts.
Step 4: Reassembling the Faucet
Once you have replaced any faulty parts, carefully reassemble the faucet in the reverse order of disassembly. Make sure the cartridge or valve is properly aligned, and the handle is securely attached. Tighten the screw beneath the decorative cap to hold the handle in place.
Step 5: Testing for Leaks
With the faucet reassembled, it’s time to test for leaks. Turn on the water supply by twisting the shut-off valves counterclockwise. Slowly turn on the faucet and check for any leaks around the handle or spout. If you notice any leaks, double-check the connections and tighten them as needed.
Frequently Asked Questions
Q: How long does it take to fix a leaky kitchen sink faucet?
The time required to fix a leaky kitchen sink faucet can vary depending on the severity of the issue and your familiarity with the repair process. On average, it can take anywhere from 30 minutes to an hour.
Q: Can I use any replacement parts for my faucet?
It is crucial to use replacement parts that are specific to your faucet model. Different faucets may have varying internal components, so using the wrong parts can lead to further leaks or damage.
Q: What should I do if I am unable to fix the leak myself?
If you encounter difficulties during the repair process or are unable to fix the leaky faucet on your own, it is recommended to consult a professional plumber. They have the expertise and experience to handle complex faucet repairs efficiently.
Conclusion
A leaky kitchen sink faucet is not only a nuisance but also a waste of water and money. By following this step-by-step guide, you can fix the leak yourself and restore the functionality of your faucet. Remember to gather the necessary tools and materials, understand the problem, and diligently follow each step. With a little effort and patience, you can bid farewell to that annoying drip and enjoy a leak-free kitchen sink faucet once again.