
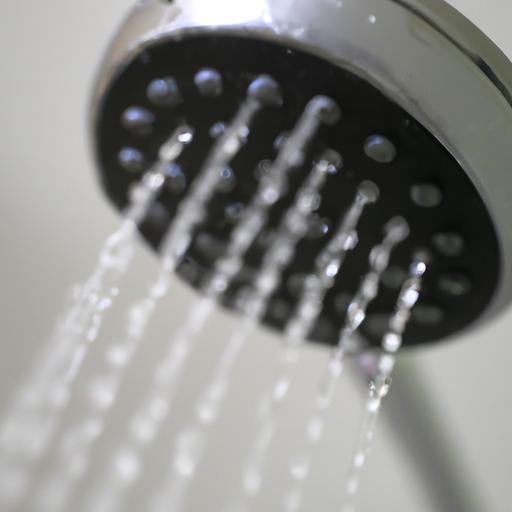
Are you tired of dealing with a pesky leaking shower head that disrupts your peaceful shower time? A leaking shower head not only wastes water but can also lead to higher utility bills and potential damage to your bathroom. In this comprehensive guide, we will walk you through the step-by-step process of fixing a leaking shower head, saving you time and money. By following these simple instructions, you’ll be able to restore your shower head to its optimal functionality and enjoy a refreshing shower once again.
Understanding the Causes of a Leaking Shower Head
The first step in fixing a leaking shower head is to understand the underlying causes. There can be several reasons why your shower head is leaking, including worn-out washers, loose connections, mineral buildup, or even a faulty valve. By identifying the cause, you can effectively troubleshoot the issue and ensure a successful repair.

Tools and Materials Needed
Before you begin the repair process, it’s essential to gather the necessary tools and materials. Here’s a list of items you’ll need:
- Adjustable wrench
- Plumber’s tape
- Replacement washers
- Vinegar or lime dissolver (if dealing with mineral buildup)
- Clean cloth or sponge
Having these items readily available will streamline the repair process and prevent any unnecessary delays.
Step-by-Step Guide: How to Fix a Leaking Shower Head
Follow these simple steps to fix a leaking shower head:
Step 1: Turn off the Water Supply
Before starting any repair work, it’s crucial to shut off the water supply to your shower. This will prevent any accidental leaks or water damage during the repair process. Locate the water shut-off valve in your bathroom or use the main water shut-off valve for your house.
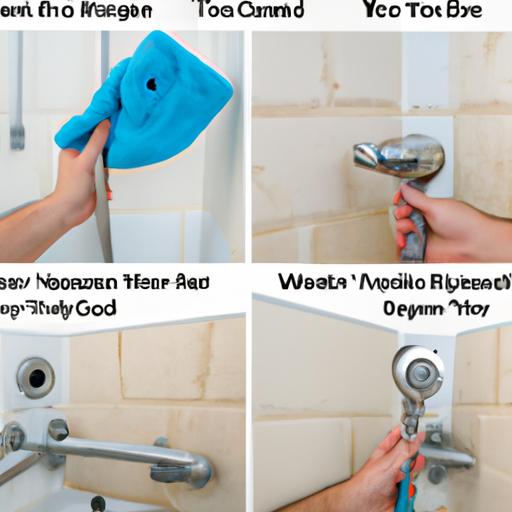
Step 2: Remove the Shower Head
Using an adjustable wrench, carefully unscrew the shower head from the shower arm. Place a cloth or sponge around the shower arm to protect it from scratches while applying gentle pressure. Once removed, inspect the shower head for any visible damage or buildup.
Step 3: Inspect and Clean the Shower Head
Examine the shower head for any worn-out washers or damaged components. If you notice any, replace them with new washers or the appropriate replacement parts. Additionally, if you observe mineral buildup causing the leak, soak the shower head in vinegar or a lime dissolver to dissolve the deposits. Clean the shower head thoroughly and rinse it before reassembling.
Step 4: Apply Plumber’s Tape
Wrap plumber’s tape around the threads of the shower arm to create a watertight seal. This will prevent any leaks when reattaching the shower head. Ensure the tape is wrapped tightly and evenly to provide optimal sealing.
Step 5: Reassemble the Shower Head
Carefully screw the shower head back onto the shower arm, ensuring a snug fit. Use the adjustable wrench to tighten it, but be cautious not to overtighten and risk damaging the shower head or arm. Wipe away any excess plumber’s tape or residue.
Step 6: Turn on the Water Supply and Test
Once you’ve reassembled the shower head, turn on the water supply and test for any leaks. If you notice any leaks, tighten the connections further or inspect for any other issues. Repeat the process until the shower head is leak-free.
FAQ (Frequently Asked Questions)
Here are some common questions related to fixing a leaking shower head:
Q1: My shower head is still leaking after following the steps. What should I do?
A1: If the leak persists, double-check that all connections are tight and free from damage. Consider replacing any worn-out or faulty parts. If the issue persists, it may be advisable to consult a professional plumber.
Q2: Can I use any type of plumber’s tape?
A2: It is recommended to use specifically designed plumber’s tape for plumbing applications. This tape is durable and provides a reliable seal, ensuring no leaks occur.
Q3: How often should I clean my shower head to prevent leaks?
A3: Cleaning your shower head every few months can help prevent mineral buildup, which can contribute to leaks. Regular maintenance ensures optimal functionality and extends the lifespan of your shower head.
Conclusion
Fixing a leaking shower head doesn’t have to be a daunting task. By following the step-by-step guide outlined in this article, you can eliminate leaks and restore the functionality of your shower head. Remember to identify the cause of the leak, gather the necessary tools, and follow each step carefully. Taking prompt action to fix a leaking shower head not only saves water but also prevents potential damage to your bathroom. So, grab your tools, roll up your sleeves, and bid farewell to those frustrating leaks for good.