Is your iPhone refusing to turn on? Don’t panic! This is a common issue faced by many iPhone users. However, it’s crucial to address this problem promptly to regain access to your device and ensure you don’t miss any important calls, messages, or notifications. In this comprehensive troubleshooting guide, we will walk you through the steps to fix your iPhone that won’t turn on. By following these troubleshooting techniques, you can quickly get your iPhone back up and running.
Possible Causes of iPhone Not Turning On
Before we delve into the solutions, let’s understand some common causes behind an iPhone that won’t turn on. By identifying the root cause, you can effectively tackle the issue.
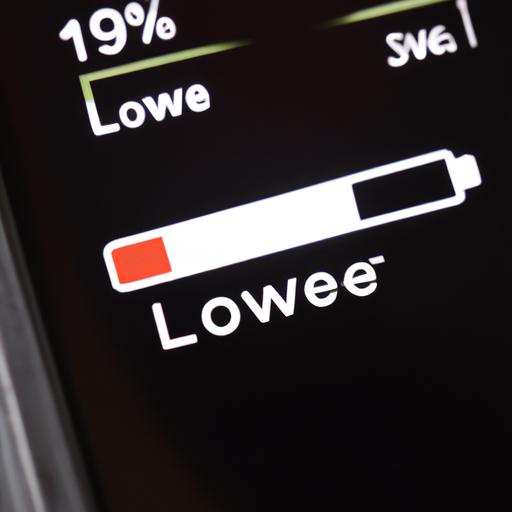
Battery Issues
One of the primary reasons for an unresponsive iPhone is a drained or faulty battery. If your battery is completely depleted, your iPhone may not power on until it receives a sufficient charge.
Software Glitches
Sometimes, software glitches or crashes can prevent your iPhone from turning on. These issues may arise due to faulty updates, incompatible apps, or other software-related problems.
Hardware Problems
In certain cases, hardware malfunctions can be the culprit behind an iPhone that won’t turn on. Faulty power buttons, damaged charging ports, or other hardware issues can render your device unresponsive.
Troubleshooting Steps to Fix iPhone That Won’t Turn On
Now that we understand the potential causes, let’s explore the troubleshooting steps to fix your iPhone that refuses to turn on.
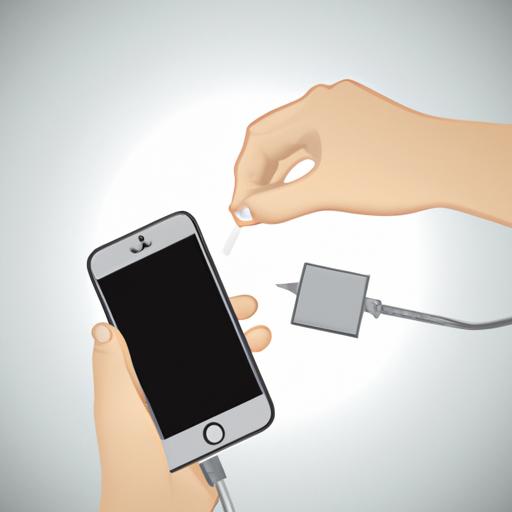
Step 1: Charge Your iPhone
Begin by connecting your iPhone to a power source using a genuine charging cable. Let it charge for at least 15-30 minutes. If the battery was completely drained, this should provide enough power to turn on your device.
Step 2: Force Restart Your iPhone
If charging doesn’t solve the issue, a force restart might do the trick. The method differs depending on your iPhone model. For instance, on an iPhone X or later, press and quickly release the volume up button, followed by the volume down button. Then, press and hold the side button until the Apple logo appears.
Step 3: Update or Restore iPhone Using iTunes
If a force restart doesn’t work, try connecting your iPhone to a computer with iTunes installed. Follow the prompts to update or restore your device. This process can help fix any software glitches causing the problem.
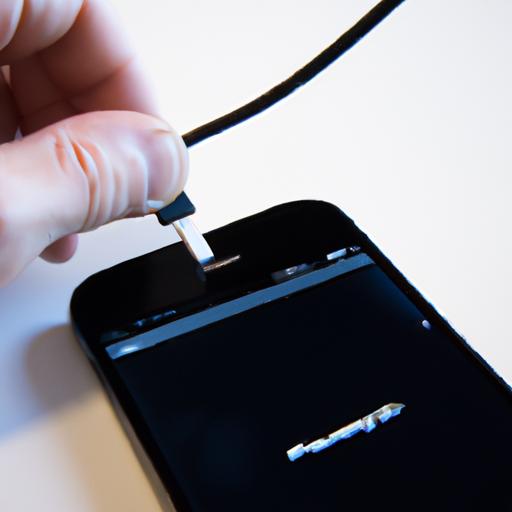
Step 4: Check for Hardware Issues
If the above steps don’t resolve the issue, it’s time to inspect your iPhone for potential hardware problems. Check the charging port for any debris or damage. Consider taking your device to an authorized service center for further diagnosis and repair.

Common FAQ about Fixing iPhones That Won’t Turn On
FAQ 1: Why is my iPhone not turning on even after charging?
If your iPhone doesn’t respond after charging, there might be an issue with your battery, charging cable, or charging port. It’s advisable to try a different cable or charger to rule out any potential problems.
FAQ 2: How to force restart different iPhone models?
The method to force restart varies depending on your iPhone model. Refer to Apple’s official support documentation or our dedicated guide for step-by-step instructions on force restarting your specific iPhone model.
FAQ 3: Will updating or restoring my iPhone erase data?
Updating your iPhone’s software should not erase your data. However, restoring your device to factory settings will erase all data, so it’s crucial to have a recent backup before proceeding.

Additional Tips to Prevent iPhone Not Turning On Issues
Prevention is always better than cure. Here are some additional tips to help you avoid future instances of your iPhone not turning on:
- Keep your iPhone’s software up to date to ensure compatibility and security.
- Handle your device carefully, avoiding drops or water exposure that may cause hardware damage.
- Protect your iPhone from extreme temperatures, as excessive heat or cold can adversely affect its performance.
Conclusion
Dealing with an iPhone that won’t turn on can be frustrating, but with the right troubleshooting techniques, you can resolve the issue. In this guide, we’ve outlined the common causes behind this problem and provided step-by-step solutions to fix it. Remember to try charging your device, force restarting it, and updating or restoring the software. If all else fails, consult a professional for further assistance. By following these tips and taking preventive measures, you can keep your iPhone functioning optimally and avoid similar issues in the future.